
Limestone caves present unique photographic challenges — but with the right approach, they reward you with dramatic, otherworldly images.
1. Understanding Cave Light
Use Natural Light Strategically
The most dramatic cave photographs come from positioning yourself near the entrance where natural light creates contrast between illuminated and shadowed areas.
Golden Hour Magic
Early morning or late afternoon light creates warm, directional illumination that enhances limestone texture.
Entrance Framing
Position subjects between camera and cave entrance to create dramatic silhouettes against natural light.
Light Direction Tips:
- • Side lighting reveals limestone texture and relief
- • Backlighting creates atmosphere and silhouettes
- • Diffused light on overcast days reduces harsh shadows
Gua Bama Advantage: The large circular cave chamber allows natural light to penetrate deeply, creating excellent photography conditions throughout the day.
2. Essential Camera Settings
ISO Management
Cave interiors are naturally dim. You'll need to increase ISO to capture detail without excessive blur.
- • ISO 800-1600: Starting point for cave photography
- • ISO 3200+: Deeper cave sections or darker conditions
- • Modern cameras handle high ISO well — don't fear grain
Aperture Selection
Balance depth of field with light gathering capability.
f/2.8 - f/4
Maximum light, shallow depth — good for detail shots
f/5.6 - f/8
Balanced approach for cave interiors with some depth
Shutter Speed Strategy
Low light requires slower shutter speeds — use stabilization.
- 1/60s or faster: Handheld shots (use image stabilization)
- 1/30s - 1s: Tripod required for sharp results
- Long exposure (5s+): Creates ethereal light effects
3. Composition Techniques
Capture Scale with Human Elements
Limestone formations can be difficult to judge in photos. Including a person in the frame provides instant scale reference and adds narrative interest.
Positioning Tips:
- • Place subject at cave entrance for silhouette drama
- • Show climbers on limestone face to emphasize height
- • Include groups for sense of exploration and adventure
Highlight Limestone Texture
The beauty of karst formations lies in their weathered, textured surfaces.
Side Lighting
Enhances texture through shadow and highlight contrast
Close-Up Details
Macro shots of limestone patterns tell geological stories
Use Wide-Angle Lenses
Cave chambers like Gua Bama's main chamber benefit from wide-angle focal lengths (16-35mm full frame equivalent) to capture the full spatial experience.
4. Equipment Recommendations
Essential Gear
Tripod
Lightweight travel tripod for stability
Wide-Angle Lens
16-35mm or equivalent for interiors
Headlamp
Hands-free lighting for setup
Microfiber Cloth
Lens cleaning in humid conditions
Optional but Useful
- •Remote shutter release: Eliminates camera shake during long exposures
- •Portable LED panel: Fill light for controlled illumination
- •Waterproof camera bag: Protects equipment in humid cave environments
5. Wildlife Photography Ethics
Photographing Bats Responsibly
Gua Bama's cave chamber is home to bat colonies. These creatures are essential to cave ecosystems and must be respected.
Never use direct flash on roosting bats — it disturbs their rest and navigation
Avoid loud noises near bat colonies
Do not approach roosting areas closely
Better Alternative:
Photograph bats in flight at dusk when they exit the cave naturally. Use high shutter speeds (1/500s+) and continuous autofocus.
Gua Bama Photography Opportunities
The Main Chamber
The large circular cave chamber provides excellent wide-angle opportunities. Natural ventilation means natural light penetrates deeper than typical caves.
Best time: Mid-morning when sunlight angles into the chamber, creating dramatic light rays through moisture and dust particles.
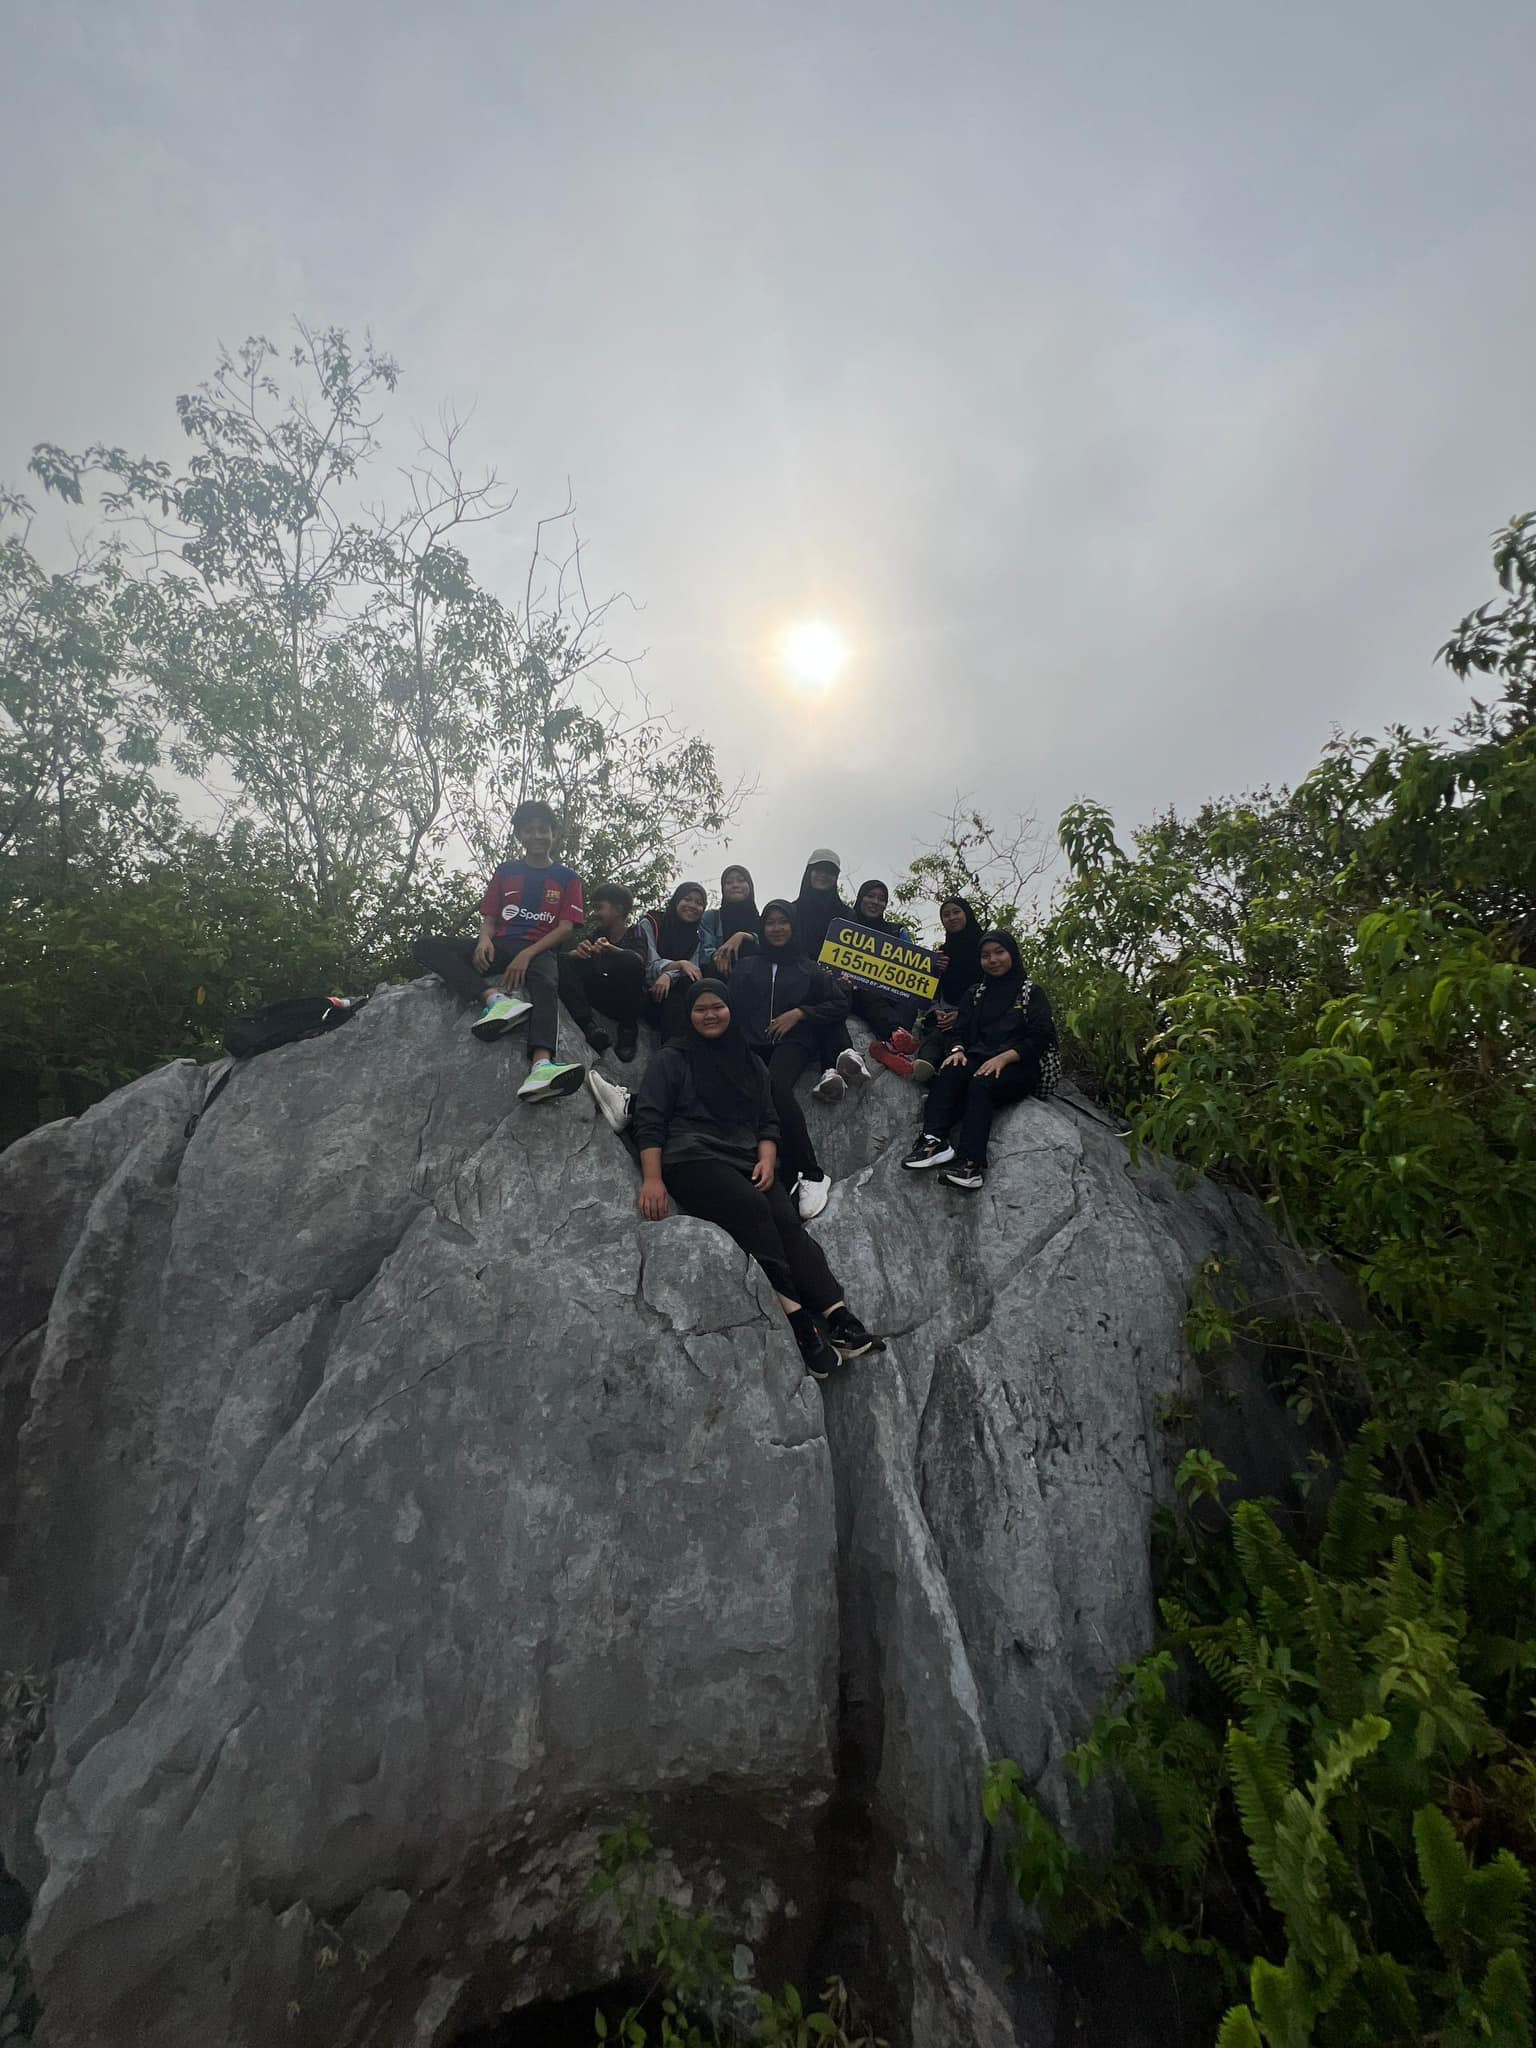
Summit Views
From higher sections of Gua Bama, panoramic views overlook forested valleys and limestone ridges.
Sunrise Photography
Warm light bathes limestone in golden tones
Sunset Photography
Layered silhouettes of forested ridges
The Approach Trail
Document the journey: concrete steps transitioning to natural limestone, forest canopy framing the path, and climbers navigating rocky sections.
6. Post-Processing for Cave Photos
Enhance Texture
Increase clarity and texture sliders to bring out limestone detail without oversaturating.
Balance Exposure
Use graduated filters or selective adjustments to balance bright entrance areas with darker interiors.
Preserve Atmosphere
Avoid over-processing. Cave photography benefits from moody, natural tones that reflect the actual environment.
Final Thoughts
The best cave photographs combine technical skill with respect for the environment.
At Gua Bama, you have access to a main geosite of Lipis Geopark — a geological wonder that deserves to be documented thoughtfully. Let your images tell the story of limestone time, human scale, and natural beauty.